What to Expect During Sauna Installation
The cabin is the easy part.
Most people picture installation as a day of assembly, and that piece is genuinely straightforward. What catches buyers out is everything that has to happen before the pallet arrives, and the order it has to happen in. Get that sequence wrong and a sauna can sit boxed in a garage for a month.
Here is what actually happens, start to finish.
The three things that decide your timeline
Not the sauna. These:
- Whether the panels can physically reach the room. Measured, not assumed.
- Whether your electrical panel has capacity, and when an electrician can come.
- Whether the base is ready. A floor indoors, a pad or deck outdoors.
Every delay we see traces back to one of those three being discovered late. All three can be settled before you place the order, and that is the single best thing you can do for yourself.
Step 1: Measure, then measure the route
Measure the space: width, depth, and ceiling height to the lowest obstruction. Ductwork, beams and light fittings are what stop installations, not the highest point of the ceiling.
Then walk the route the cabin has to travel. Front door, hallway, any turn, stairs, and the door of the room itself. Sauna panels are large, rigid and heavy. A tight ninety-degree turn at the bottom of a staircase defeats more indoor installations than any other single obstacle.
Compare those measurements against the crate dimensions on the product page, not the assembled dimensions. Delivery crews will not solve this on the day, and they will not carry the crate back.
Step 2: The electrical work, which is the real gatekeeper
This is the step that decides your schedule, so start it first.
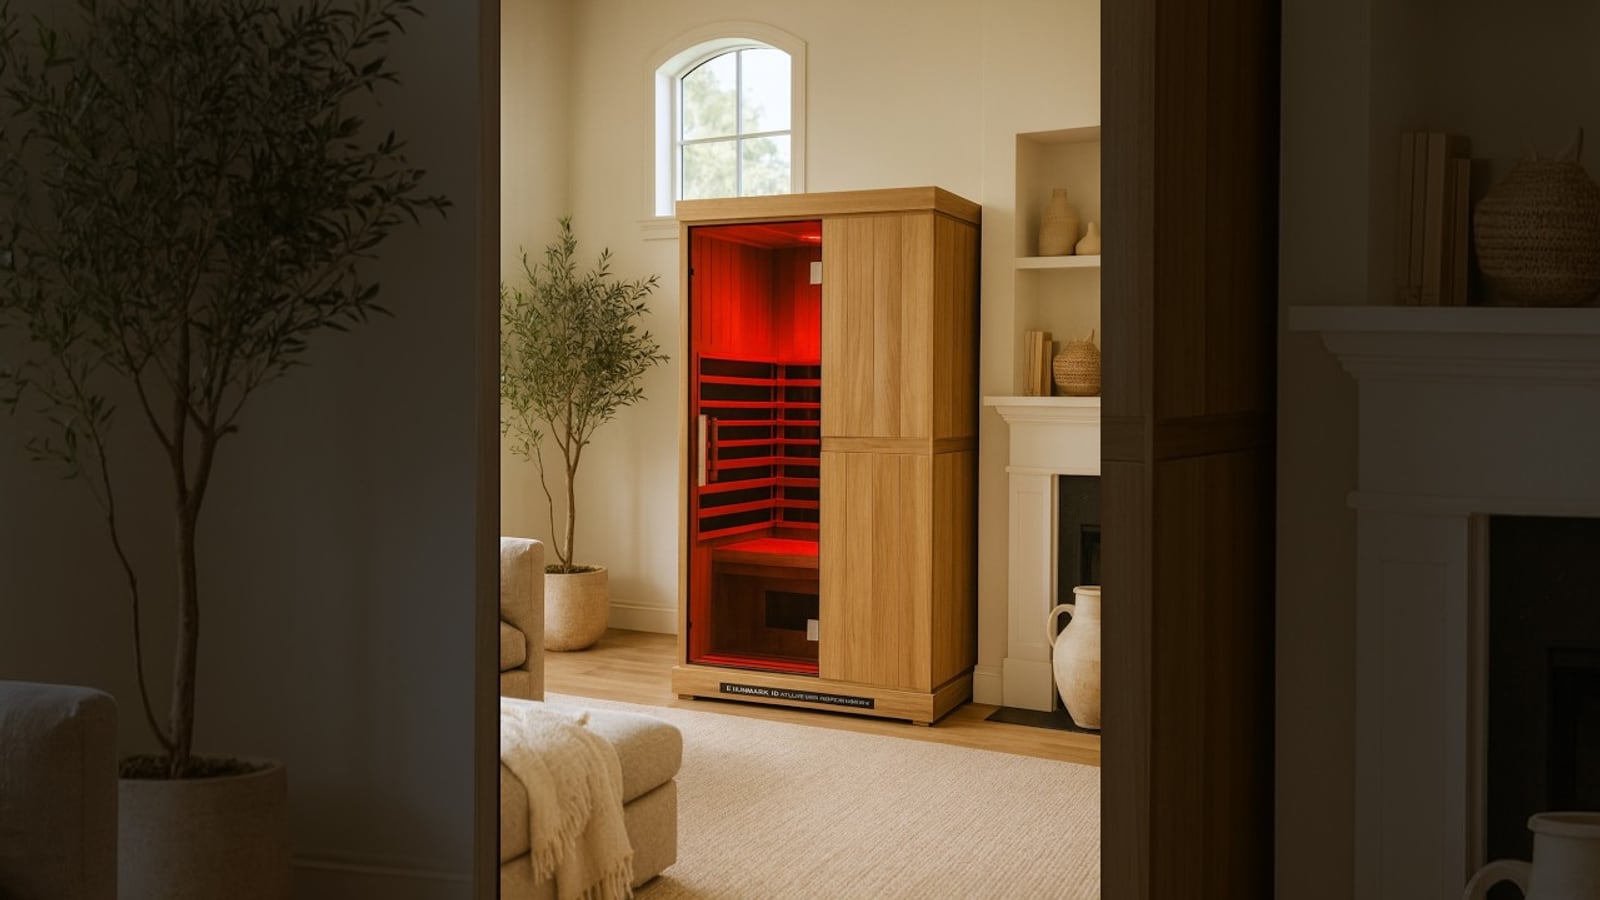
Traditional sauna heaters are commonly 4.5 to 9 kW and almost always require a dedicated 240V circuit installed by a licensed electrician. Smaller infrared cabins sometimes run from a standard 120V outlet, but larger and full-spectrum models frequently need 240V as well. Read the specification for your exact model.
Three things to do, in this order:
- Find the electrical requirement for the model you intend to buy
- Have an electrician look at your panel and confirm there is capacity
- Get a written quote for the run from the panel to where the sauna will sit
That quote belongs in your budget from day one. It is frequently $800 to $2,500 depending on distance and whether the run is indoors or buried outdoors.
Two warnings worth stating plainly. Doing this work yourself, where a permit and a licensed electrician are required, can void both the manufacturer's warranty and your home insurance. And an electrician's first available appointment is often two to three weeks out, which is usually the longest single wait in the whole project.
Step 3: The base
Indoors, you mainly need a floor that tolerates heat and the occasional splash, plus a plan for where steam goes if you are installing a traditional sauna. Tile, sealed concrete and vinyl are all common. Ventilation matters more than people expect in a closed basement room.
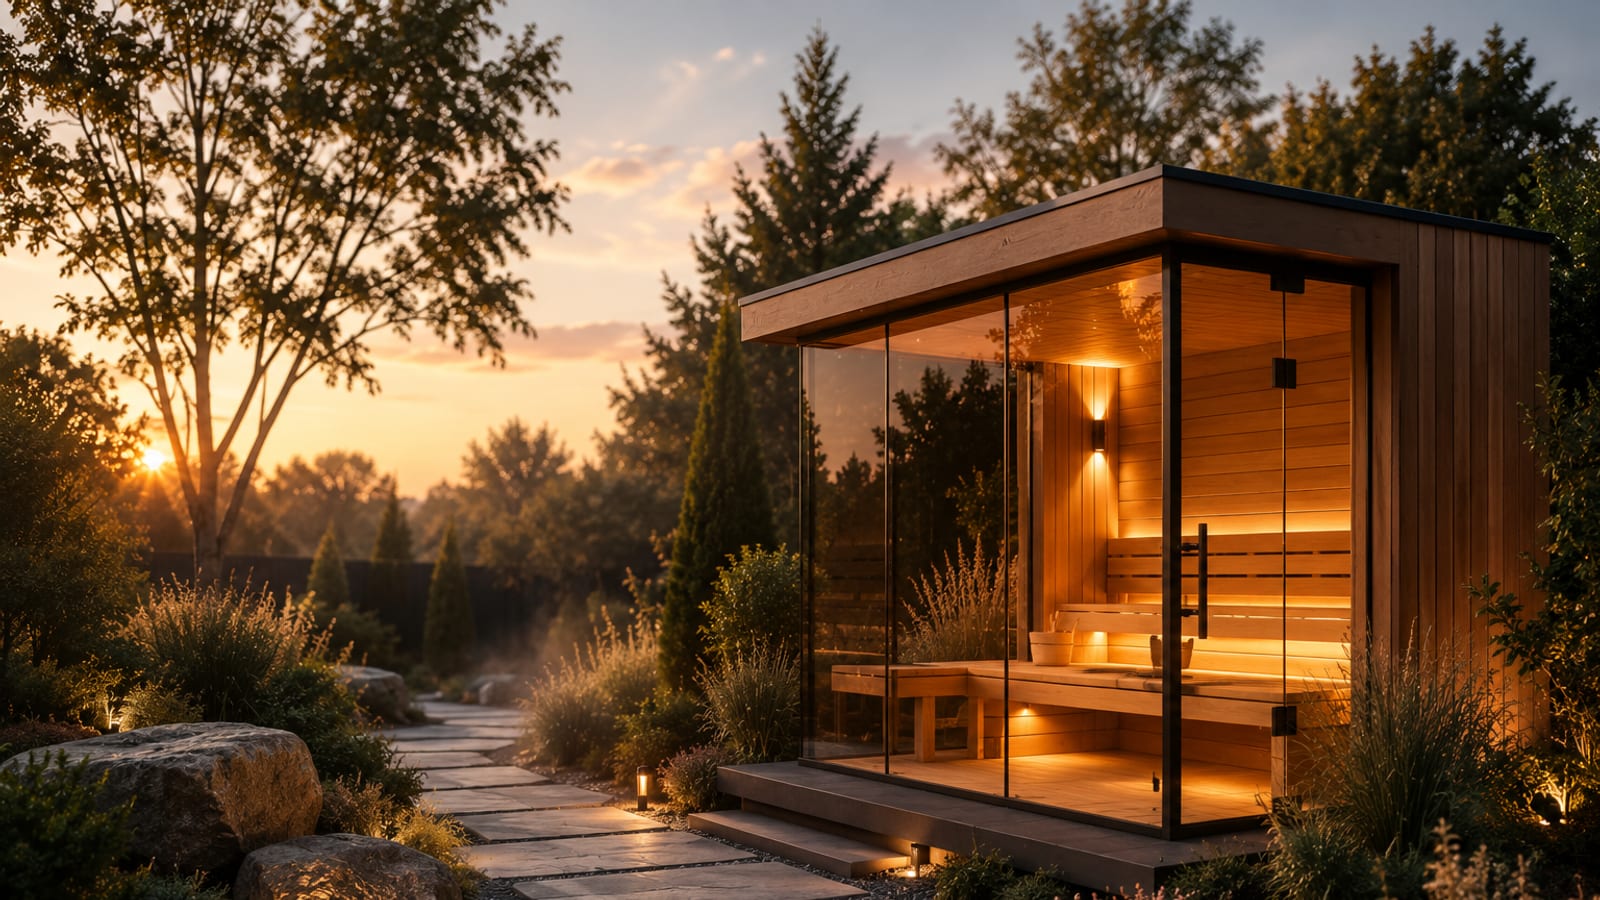
Outdoors, you need a level, stable, well-draining base. Three options work:
- A compacted gravel bed, which can be done in a weekend and drains well
- A concrete pad, the most permanent, but it must be poured and then left to cure, commonly several days to a week before anything sits on it
- An existing deck, provided it is rated for the weight. Check this rather than assume it.
What does not work is bare soil or grass. The cabin will settle unevenly, the door will stop closing squarely, and the timber will wick moisture from below.
The base has to be finished before delivery. This is what makes an outdoor installation a three to four week project rather than a one week project.
Step 4: Delivery day
Most home saunas ship by freight on a pallet, not by parcel courier. That means a few practical realities:
- Delivery is usually curbside. The driver is not obliged to carry it into your garden.
- You may need to arrange a lift gate if you have no loading dock, and that is often a paid extra.
- Someone has to be present to inspect and sign.
Inspect the crate before you sign. Photograph any damage to the packaging immediately, while the driver is still there. Freight damage claims are far easier to win with a photograph taken at the curb than with one taken three days later in your garage.
Then check the parts list against what arrived, before assembly day. A missing bracket found on Saturday morning costs you the weekend.
Step 5: Assembly
This is the part people worry about and the part that usually goes fine. Most kits are designed for two people with ordinary tools, and a weekend is a realistic estimate.
Here is a full step-by-step walkthrough of a Finnmark infrared sauna going together, so you can see exactly what is involved before you commit:
A few things that make the day easier:
- Two people, always. Panels are awkward rather than heavy, and holding one while aligning another alone is how they get scratched.
- Unpack everything first and lay the parts out in assembly order.
- Do not fully tighten anything until the whole cabin is standing. Panels need a little play to align, and over-tightening early is the most common cause of a door that will not sit square.
- Leave the electrical connection to the electrician. Assemble the cabin, then have them make the final connection.
Step 6: The first heat
Do not climb in the moment it is wired.
Most manufacturers specify an initial run with the cabin empty, at temperature, to cure the materials and burn off any residue from manufacturing. The room may smell of wood and warm resin during this first run, which is normal and passes.
Follow the figure in your own manual rather than a number you read online. It varies by manufacturer and by whether the cabin is infrared or traditional, and your warranty assumes you followed theirs.
A realistic timeline
| Indoor | Outdoor | |
|---|---|---|
| Measuring and confirming the route | 1 day | 1 day |
| Electrician quote and scheduling | 1 to 3 weeks | 1 to 3 weeks |
| Base preparation | none, or minor floor work | 1 day to 1 week including curing |
| Delivery after ordering | varies by model | varies by model |
| Assembly | a weekend | a weekend |
| Final electrical connection | 1 day | 1 day |
The honest headline: plan on three to four weeks from decision to first session, and more if you are pouring concrete or your electrician is busy. The sauna itself is rarely what you are waiting for.
Common questions
Can I install a sauna myself?
The cabin, usually yes, with a second pair of hands. The electrical connection, almost never. In most jurisdictions a dedicated 240V circuit must be installed by a licensed electrician, and doing otherwise puts both your warranty and your insurance at risk.
Do I need a permit?
For an indoor sauna, usually only for the electrical work. For an outdoor structure, rules vary by city and county, and the setback distance from your property line is the usual sticking point. Call your local building department before ordering.
How long does assembly actually take?
A weekend for two people on most kits. Larger cabins and garden suites take longer. Rushing it is how doors end up out of square.
What tools will I need?
Typically a drill or driver, a level, a rubber mallet and a step ladder. Your manual lists the specifics, and it is worth reading before Saturday morning.
Can it go on my existing deck?
If the deck is rated for the weight and is properly level, yes. Check the rating rather than assume it. A sauna full of people and stones is heavier than the furniture the deck was built for.
What if a part is missing or damaged?
Photograph it and contact us straight away. Freight damage is far easier to resolve in the first forty-eight hours, which is why unpacking and checking the parts list on delivery day matters even if you are not assembling until next weekend.
Do I need to seal or treat the wood?
Inside, no. Sauna interiors are left untreated on purpose, because sealants and heat do not mix. Outdoor cabins do need attention to the exterior finish every few years, and a cover helps considerably.
Before you order
Read the complete home sauna buying guide for size, heat type and budget, infrared vs traditional sauna if you are still choosing between the two, and indoor vs outdoor saunas for where it should go.
Or send us your room dimensions, your ceiling height and a photo of your electrical panel, and we will tell you what is realistic before you spend anything.